Lightning addresses have been around for a while now, but most are linked to a custodial wallet (e.g. Alby and Wallet of Satoshi). ZEUS is channeling the power of the gods in a big way and granting us the ability to have a self-custodial Lightning address — as in we own the keys. This feature is available starting in ZEUS v0.8 (codename Pegasus).
In this post, I’m going to show you the steps to not only set up your first embedded LND node but also to open your first channel to OLYMPUS — ZEUS’ Lightning Service Provider (LSP).
1. Create the embedded LND node
If you’re coming from a fresh install of ZEUS, this is the first screen you’ll see.
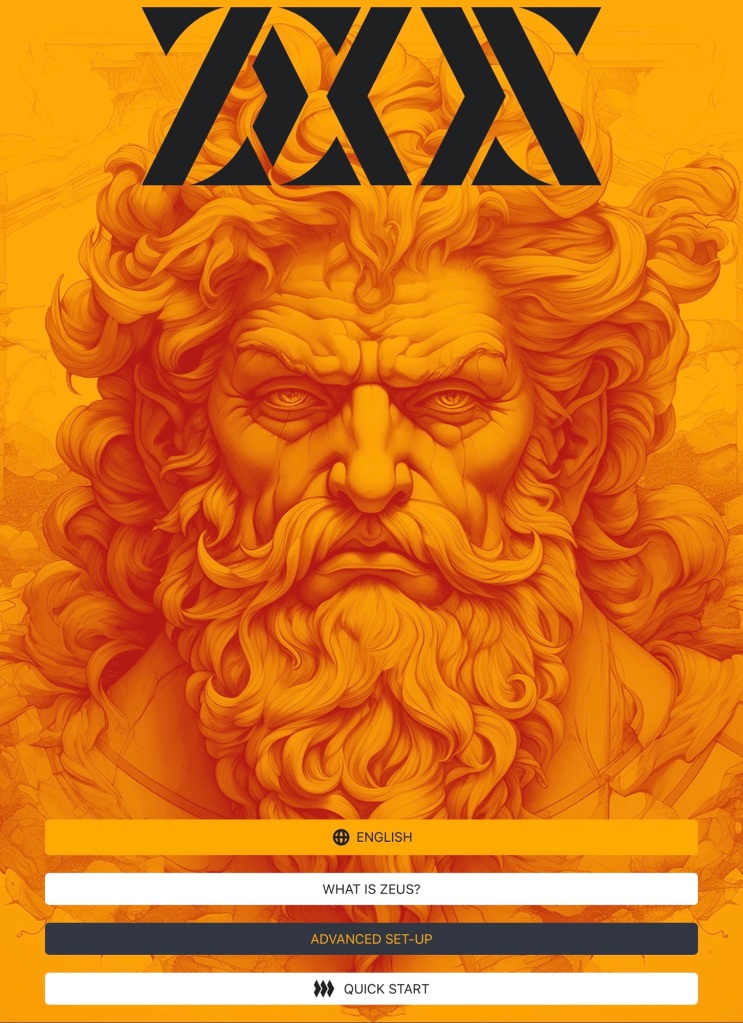
All you have to do is select “QUICK START” and the embedded LND node will be created for you. Yes, it’s that easy!

Once the wallet is created, the first thing you’ll see the blockchain syncing.

If you already have an existing connection (e.g. a previously created embedded node or an Alby LNDHub), select “advanced setup” instead to restore it.

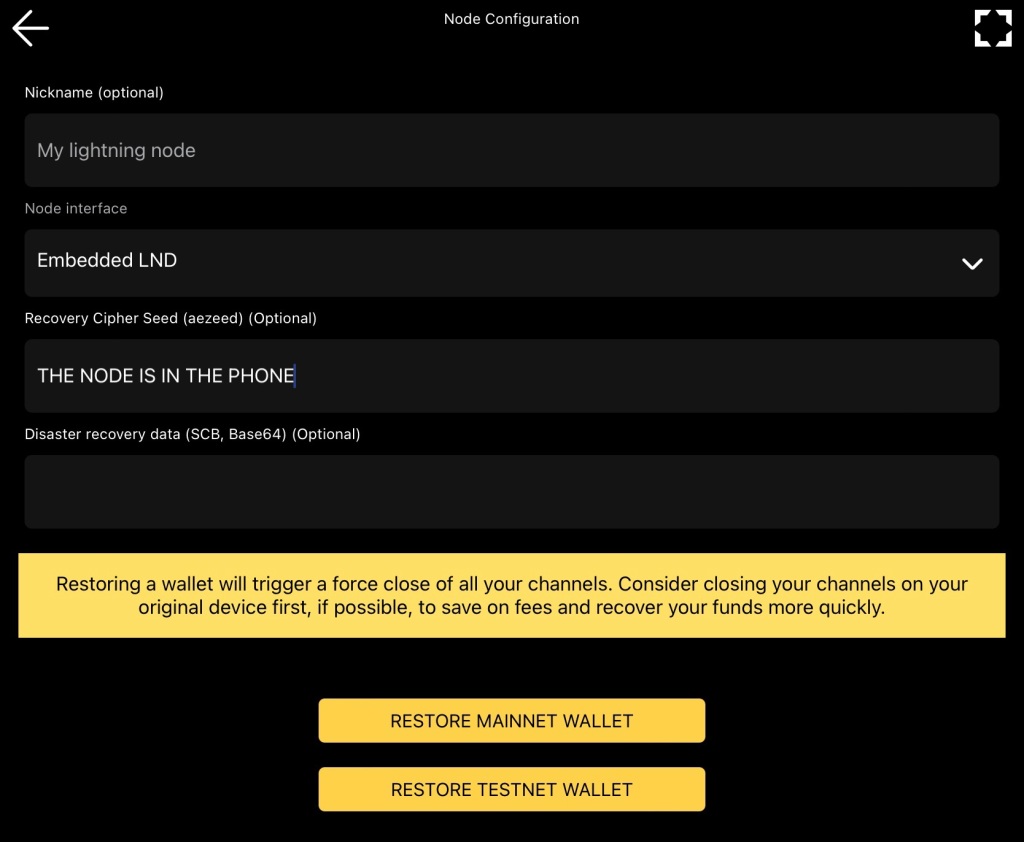
NOTE: Restoring a wallet will trigger a force close of all your channels. Consider closing your channels on your original device first, if possible, to save on fees and recover your funds more quickly.
2. Create your ZEUS PAY address
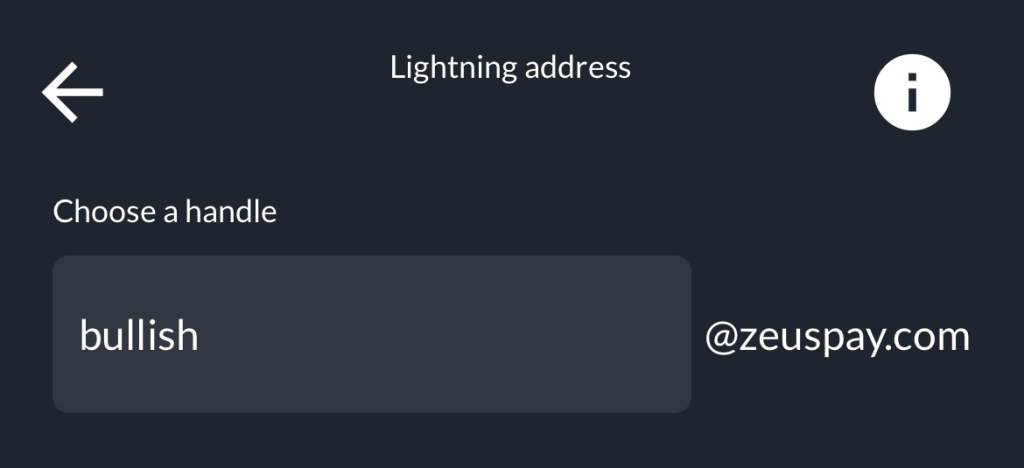
Once the sync is finished, go to your settings again and tap Lighting address.

3. Choose your handle
Enter your desired handle and tap “Create lightning address” at the bottom.
If you run into any issues, try again on a Wi-Fi connection. I got the error message below a couple of times when trying on mobile data.

If all goes well, you’ll have a Lightning address fit for the gods!

ZEUS PAY FTW!
Alright, what’s next?
Well, in order to receive your first payment, you’re gonna want to open a Lightning channel with OLYMPUS.
Before doing this, make sure to enter “BULLISH” into the LSP access key field in Settings > Lightning Service Provider to get 5% off fees when opening a 0conf channel to Olympus.

You can do this by simply creating an invoice.
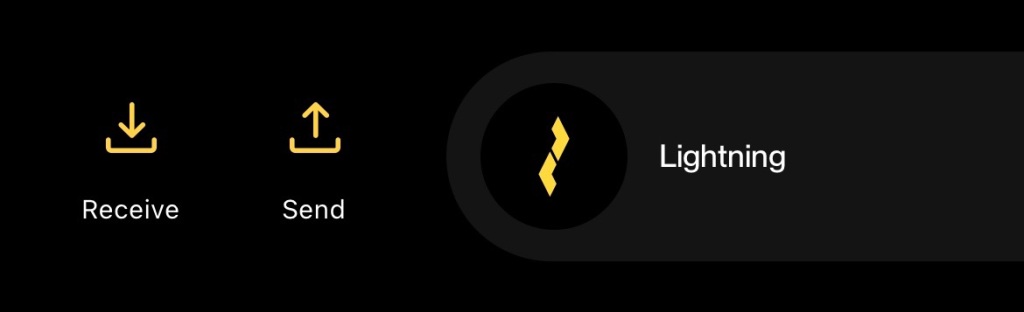
Click the 🏛️ icon at the bottom.

Swipe right on “Lightning” and tap receive.
Enter the amount of sats you’d like to receive, make sure “Enable Lightning Service Provider” is checked, and create the invoice.
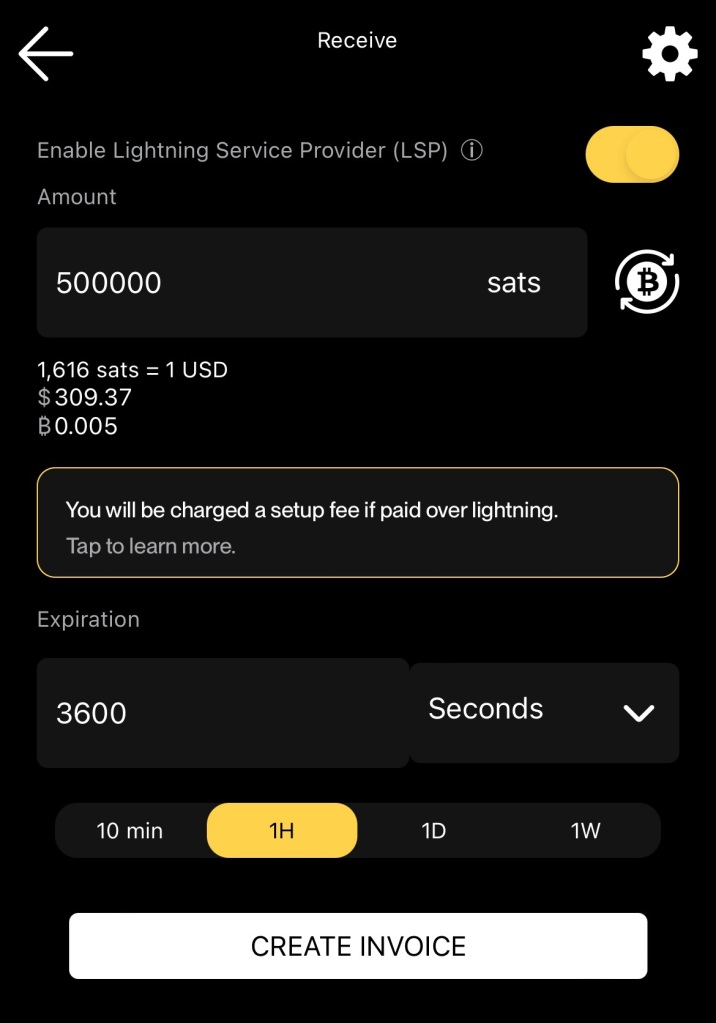
You can see below that the setup fee is 5% less than the usual 10,000 sats because of the LSP access key.

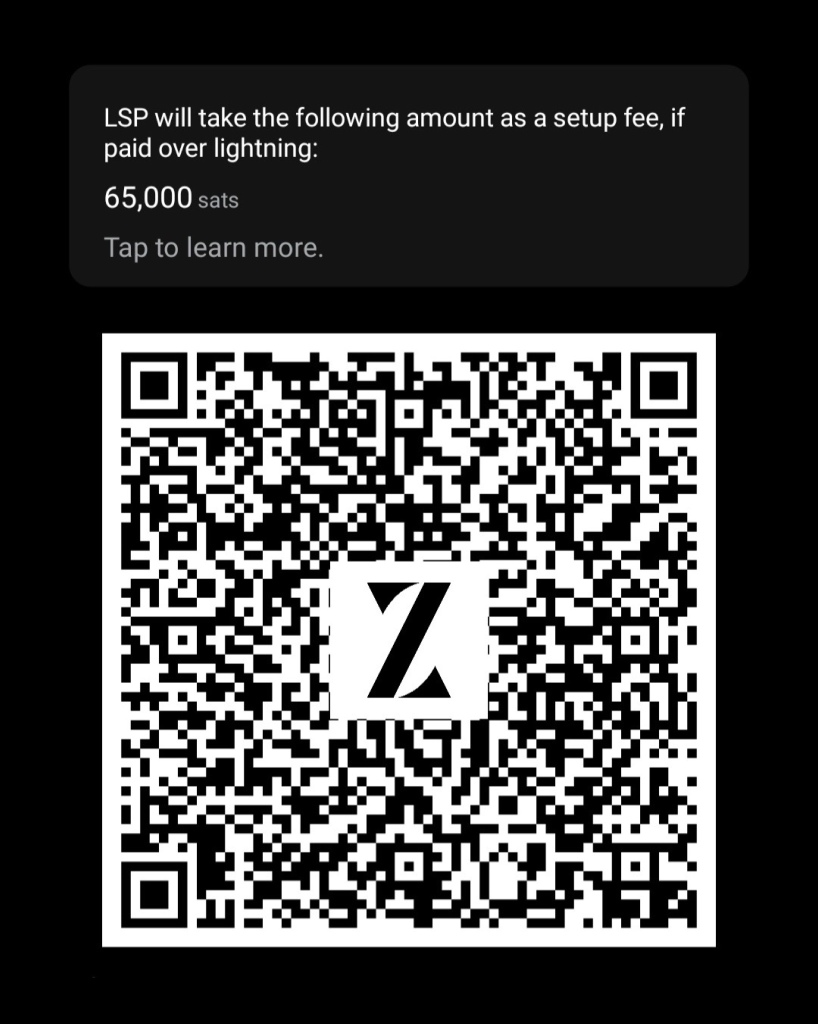
NOTE: In response to high fee environments, Zeus-0.8.0-beta5 introduces dynamic LSP fees and removes the previous minimum of 50K sats for channel opens. Now, you can open a channel with 200 sats, but the setup fee will be based on network demand. Below is a sample invoice with a setup fee of 65K sats (transaction fees were around 150 sats/vByte at the time).
A few things to note with the LN invoice route:
- The channel size will be the amount of the invoice plus 100K
- The max for opening a channel is 5M sats
- The setup fee becomes 1% on amounts greater than 1M
- The best bang for your sats is the channel open with 1M sats
If you want to receive sats via the on-chain route:
- The minimum for opening a channel is 1M sats
- The cost will be the network fee
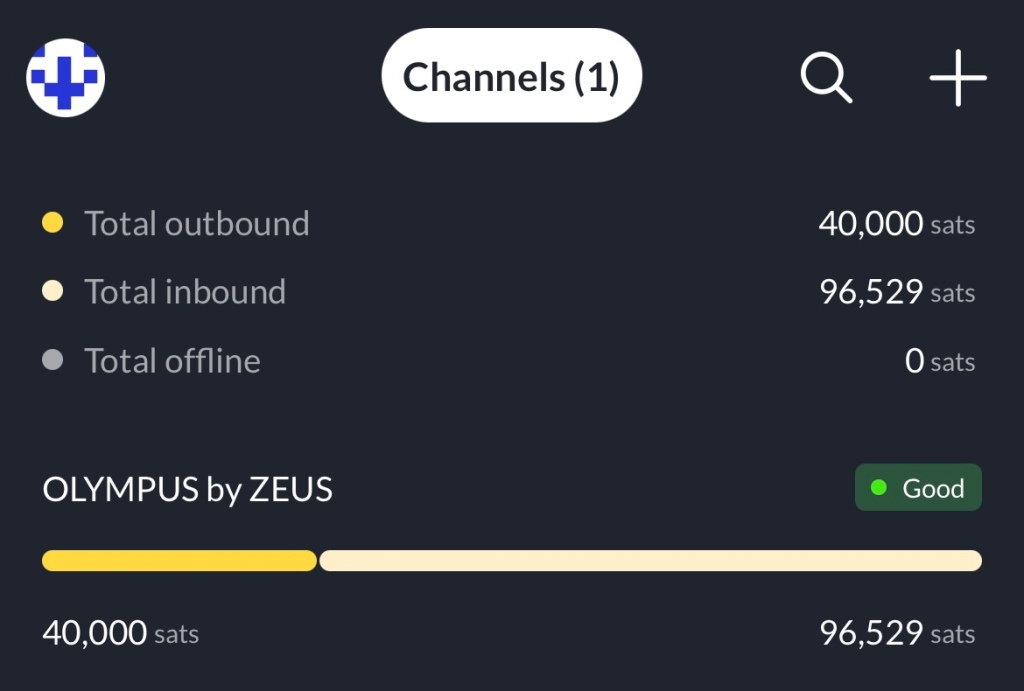
Once the invoice is paid, you’ll have 40K sats in your wallet and a ~150K-sat channel with OLYMPUS.

You can view the channel information by tapping on the bottom-right icon.

Outbound indicates the amount you’re able to send. Inbound indicates the amount you’re able to receive.
Optional Features
At this point, you’re all set to send and receive payments with your self-custodial lightning address. Below, you’ll find some info on other features that can improve your ZEUS PAY experience.
Nostr Attestations
If you use Nostr, this is basically a way for users to keep ZEUS in check. Who better to explain what this is than ZEUS himself?
That’s all for now! Cheers to self-custody and payment privacy. 🍻
You can find more information about this release (as well as the downloads) on the ZEUS Blog.

Leave a comment